A modern take on limewashing


A modern take on limewashing
Before modern paints, limewashing was one of the most common finishes you’d see on masonry and interior walls. It was traditionally made from lime and water with natural earth pigments added, and gave a chalky, slightly uneven finish that weathered beautifully.
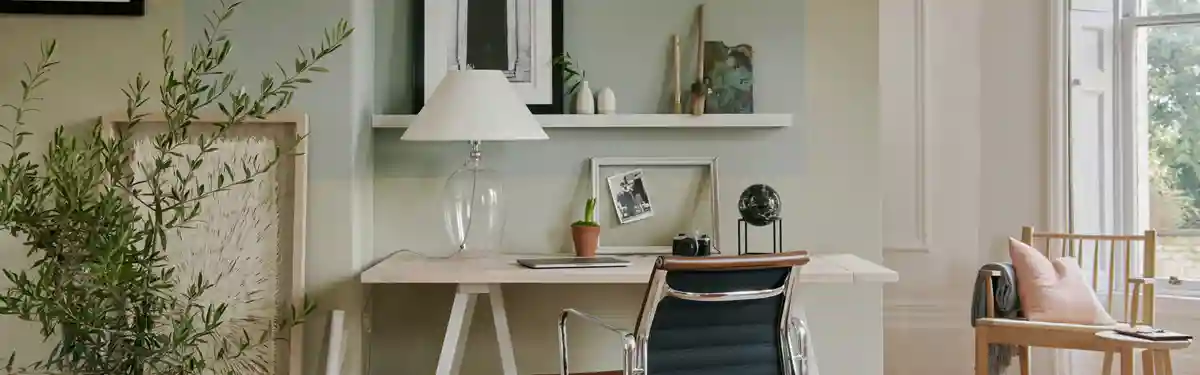
Nowadays, limewashing is often used to describe a cloudy, textured effect, achieved using normal paint but applied using a freestyle brushstroke technique. We thought it the ideal match for our new shade, Saffron – a fresh yet earthy yellow that echoes the creamy hue of natural, unpigmented limewash.
“Saffron is a bold, dramatic colour, but for the less brave, limewashing allows you to use it in a subtler way,” says Neptune stylist Meaghan Hunter, who created the paintwork you see here. “It works by building up layers, so the more paint you add, the more vibrant the result will be.”
The mottled, perfectly imperfect texture of limewash also pays homage to the Belgian interiors that inspired our new spring collection, with their soft, faded colours. “They really do know paint best,” says Meaghan. “Mineral-based limewash is a Belgian basic, with a chalky, nuanced texture that only gets better with age. It brings depth and texture to any room, and I find the earthy tones pair well with Neptune pieces, as they draw light towards natural materials like oak, linen and jute.”
Limewashing is surprisingly easy to do yourself, says Meaghan. You only need a few tools – paint, some clean-up cloths, a good-sized bucket, and a wide, block brush made from natural fibres (the kind you might normally paint floors or fences with).
“Before you start, stir the paint thoroughly until the pigment’s completely even, then decant it into the bucket,” says Meaghan. “The idea with old-fashioned limewash was that it was absorbed straight into the plaster to give a breathable coating, but it’s fine if your walls are already painted. It’s better if they’re a light, neutral colour, but you can use an undercoat first to disguise any flaws.”
Next, dip the brush about a quarter of its length into the paint and flick off any excess, so it’s not dripping. Then, it’s almost the opposite of a conventional painting technique: you work in sections across the wall, pulling the brush lightly and loosely, almost like a watercolour artist.
When you cut in, start a little way in from the edges, then move the brush outwards, so paint doesn’t pool in the corners. Change the direction of the brush regularly, as if you’re buffing the paint in, and work in sections that match your arm span – it helps to paint quickly and keep the edges wet, so the sections gradually blend together but don’t look flat.
You’ll need to keep stirring the paint regularly, too. Take care not to overload your brush, and don’t be alarmed if the wet paint looks a little dark and transparent – it’ll be paler and more opaque when it dries. “We found that applying two or three coats gave the perfect finish,” says Meaghan.
Discover all the colours in our paint collection and order sample tester pots or a swatch book online here.


