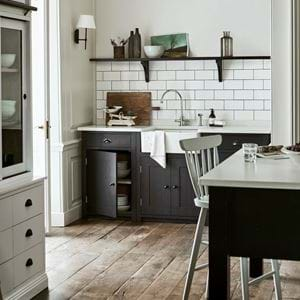
Renew, reuse, relove
Renew, reuse, relove
Using the furniture and accessories that you already have – or giving a new home to an antique, vintage or just plain second-hand piece – is the ultimate form of sustainability, reducing what heads to landfill and cutting down on the use of raw materials. But sometimes, a little imagination and hands-on time is needed to turn an old piece into the perfect one for you. There are lots of professional restorers out there who can help (and we’ve touched on where you might want to turn to them), but there are also some simple things you can do yourself.
Repairing
Before you can get started on any of the other restoration tasks below, you may well need to do a few repairs first. Wobbly legs on chairs and chests, dented tops on tables, loose handles, sticking drawers and doors, and chipped china are all things you can pretty easily fix yourself.
Let’s start with dents and chips – one of the most common ailments of much-loved pieces of furniture and crockery, and (especially in the case of the latter) one of the reasons they’re often thrown away. Small dents and knocks on timber pieces can be quite simply patched up using wood filler – choose one that matches the shade of timber closely (unless you’re planning to paint, of course), and then it’s usually just a case of applying with a palette knife and sanding back, by which point the filled-in dent will be pretty much unnoticeable. China is similarly easy unless it’s really smashed into dust. Strong glues like epoxy resins will do the trick well, although you will see the fracture still. Jocasta Innes – doyenne of the DIY, make do and mend mentality – highly recommends Araldite to repair crockery, and includes detailed instructions on how to make the repair as seamless as possible and even rebuild missing sections of crockery in her book ‘The Pauper’s Homemaking Book’ (sadly now out of print but it’s easy to find a second-hand copy online). You could also try your hand at the Japanese craft of ‘kintsugi’, which embraces the imperfections in broken pottery by highlighting the joins with gold or other coloured lacquers – there are lots of kits around that can help with trying this technique.
On to more structural problems. Loose handles often just need tightening, but if you find that that’s not cutting it because the repeated turning of the screw has worked the hole larger, remove the handle and its screw, fill in the hole using a new piece of wood and then screw the handle back on. If cutting a piece of wood to size is too fiddly, you can also plug the hole with filler and screw in the handle before it’s completely set. Both tricks also work for hinges and legs, although with legs we recommend a belts and braces approach with gluing (using wood glue) and screwing.
Finally, to sticking doors and drawers. Drawers in old pieces of furniture will usually have wooden runners (as opposed to the metal ones generally used today), which do have a tendency to catch. You might well find that rubbing them with a stick of beeswax will get them running smoothly again, but there’s a chance the problem is being caused by the movement of the timber over time. To fix that, your next step should be a spot of sanding – often enough to shave off the few millimetres needed to get a perfect fit again. Go gradually, trying the drawer again every so often, until it’s no longer sticking. Doors will benefit from the same treatment too, and try rehanging them on new hinges as well – if the hinges have loosened over time, the door will have dropped down.
Repainting
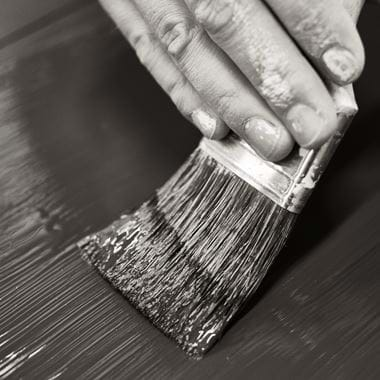
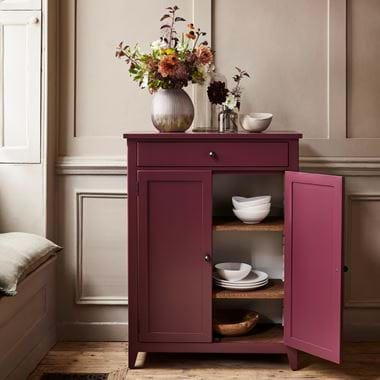
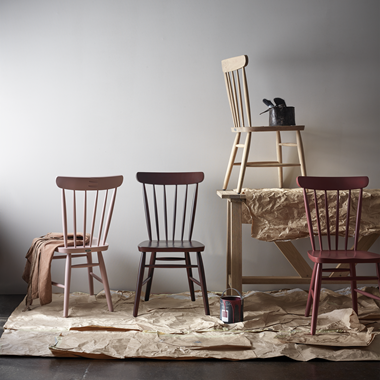
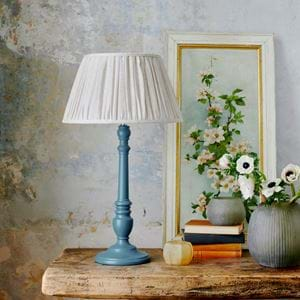
Repainting furniture and accessories (lamps and picture frames are the usual candidates for a new coat) is probably going to be the restoration task that you’re most familiar with, but it’s still worth going over a few pointers.
If you’re painting over an already painted finish, it’s pretty much as simple as lightly sanding (you don’t need to strip it – unless there are caked on layers, which we’ll come to – but just key it), applying a suitable primer and then adding a few, thin and even coats of paint.
If you do want to strip the other layers of paint, perhaps if they’re peeling or there are so many the details of the piece are masked, then you have a few options: a heat or infrared device, which softens the paint so you can scrape it off (using a plastic scraper ideally, so you don’t damage the wood); chemical removers, which are best for finely detailed areas you can’t easily get into; and sanding (you’ll probably want an electric one for this). Whichever method you choose, always strip paint in a well-ventilated space, preferably outside, and wear a suitable mask, safety glasses and gloves. If your piece was painted a while ago (or you even suspect it was), you need to be careful of lead-based paints as these weren’t banned in the UK until 1992. There are kits you can get to test for lead at home, and if you do find or suspect there’s a lead-based layer on your furniture, then chemical and heat stripping are your best options as they won’t kick up particles. Even so, wear a respirator, cover the surrounding area in plastic sheeting, and dispose of debris responsibly. And if you’re in any doubt, hire a professional decorator.
The only other main point to make about painting is that, if you’re painting timber that hasn’t previously been painted, you’ll want to use a stain blocking primer to prevent the resins in the wood from discolouring your paint over time.
Refinishing
If a timber piece’s finish is badly scratched or you simply don’t like the colour, then painting over it is definitely not your only option, and on pieces with interesting wood grains, it can be a real shame to hide that.
You’ll need to start by stripping back the current finish. Again, there are chemical options which work well, but if you’re not comfortable using those, then you’ll need to sand. Start with a coarser sand paper (80–150 grit) until you’re down to the wood, then finish with a finer paper (150–200), always sanding in the direction of the grain, before giving the timber a good clean using a lint-free, microfibre or tack cloth. A once-over with an alcohol-based solution like acetone is also a good idea to get rid of any oily residue that could discolour the wood.
Now to refinishing. Don’t leave the wood completely bare as it’ll mark and stain easily and also oxidise (silver) in the air. When you’re doing it yourself, the easiest, most foolproof finishes to attempt are oils and waxes, and they’ll also give you the most natural look (as opposed to lacquers and varnishes, which leave a richer, shinier finish and are very hardwearing, but are best left to the pros).
A clear wax is about the closest you’ll get to a completely natural, untreated finish (you can also get coloured waxes), and although it’ll repel water, it’s not the most hardwearing against knocks because it just sits on top of the wood, rather than penetrating it. It’s easy to apply – simply rub on then either wipe off straight away for a matt finish or leave a while then polish to a satin sheen.
Oil, on the other hand, seeps into the wood so won’t add a film to the surface. Linseed oil is the most common and not very expensive, but it will slightly darken the colour of the timber, which you may or may not want. Linseed is the base for our IsoGuard® oil, but we also include pigments that either reverse the darkening effect (Natural Oak) or bring their own finish (Chalked and Seasoned Oak). Plain linseed oil will offer some protection against spills and scratches, but IsoGuard® gives you more time to mop up, and also has a matter finish to linseed’s satin one. Either way, you want to apply a lot of oil to the timber, keeping it moving for ten minutes, then wipe off whatever hasn’t been absorbed.
(When it comes to our own furniture, all our timber designs are protected with IsoGuard® which means, save for outdoor pieces, they shouldn’t need much in the way of care or refinishing. If you do find that you need or want to though, we’ve included lots of detailed information in our timber care guide.)
Reupholstering
All the techniques we’ve talked about so far are, to some extent, easy to do from home without needing specialist skills. But that’s not really the case with reupholstering, so we’ll just touch on it briefly. You can learn reupholstery at an evening class (which is actually what our co-founder John did to learn more about how quality upholstered pieces are made) or online, and things like padded dining chair seats are definitely doable after a little instruction, but otherwise, you’ll want to seek out a professional. Even if you are a dab hand with a sewing machine, reupholstering is often much more than recovering. Your upholsterer will strip right back to the frame, replacing the webbing and fillings as well as the fabric, in order to get the best out of your piece. We think it’s well worth it though – the quality of the frames on antique and vintage furniture is often so high that they can go on being reupholstered for generations and still be as strong and sturdy as they day they were made.
