Autumnal flower pressing
Autumnal flower pressing
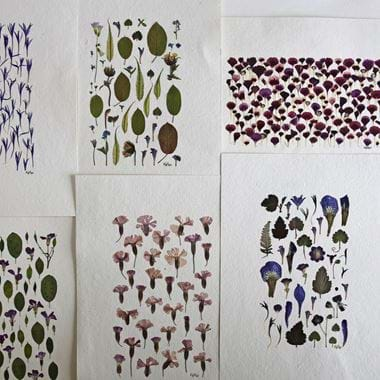
Izzi Hudson, founder of florist, Flower and Press, gives us a step-by-step guide on flower pressing this season, from what you’ll need, what flowers to pick and how to press -
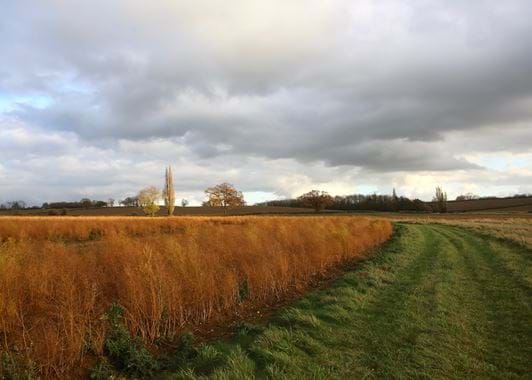
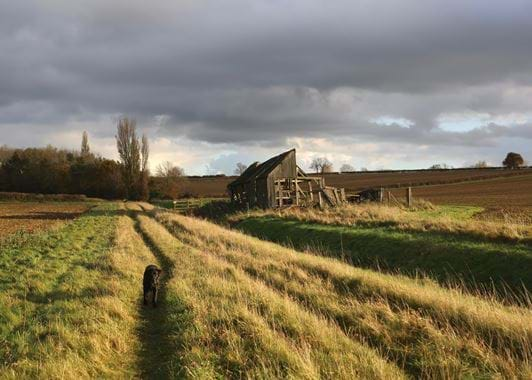
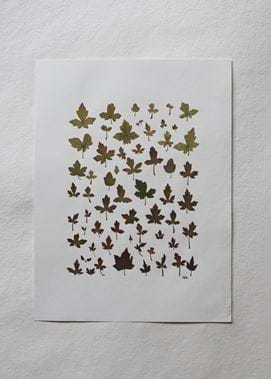
To me there is absolutely nothing more perfect than a crisp, sunny autumnal day. The process of the leaves turning has always fascinated me. It’s a result of shorter days and a drop in temperature which causes the plant to stop making its food, breaking down chlorophyll (its green pigment). This year autumn seems to have been particularly spectacular with bright sunny days and cold nights meaning that deciduous trees and shrubs have been able to keep hold of their leaves and rich colours for longer. We wanted to give you a step by step guide for foraging to create pressed flower art in this underrated season. We will be using what we press from our autumnal landscape as place settings for our Christmas table, and gift tags and cards for our presents.
What you'll need...
- Blotting paper: it is super absorbent which helps to wick away moisture and stave off mould. If you don’t have any, you can try normal paper, however results will be much more variable.
- A flower press or heavy books: either works well, if you are pressing with heavy books you need to ensure the distribution of weight is even for best results.
- Cardboard: we re-use old packaging boxes from deliveries, any old cardboard will do.
- Scissors
- A bag or basket: for collecting your flowers
Things to consider...
Shape & size
In spring and summer, the wider variety of blooms and colour palettes allow us to create pieces where vibrant colour is centre stage. Autumn is different and our designs change to reflect this. We start to think more about shape and variety rather than simply a barrage of colour; the greater simplicity can be rather charming and focusses the eye to appreciate form and subtle tones.
We like to look for small or intricate varieties of blooms or foliage, often breaking them down to a small single leaf or stem.
Where to get your flowers
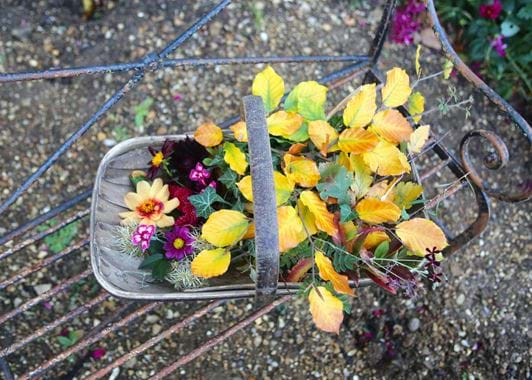
Garden: Our annual glut of dahlias is nearing its end, but a few that haven’t been battered by the winds and rain still stand. Dahlias (quite surprisingly) press really beautifully. We deconstruct the petals to get the best results and find they hold their colours really well! Other picks in the garden at the moment include dianthus, the last nigella (love in a mist), cosmos, salvia, sorbus and clematis.
When picking from further afield make sure you know the rules and regulations:
Cultivated flowers: It is illegal to pick any flowers grown by councils (such as in parks and on roundabouts and verges) or on private properties (unless you have had prior permission from the owner).
Wildflowers: Picking wildflowers and foliage in Britain has caused much confusion and controversy. If you want to pick leaves and flower stems this is absolutely allowed however it is illegal to uproot (dig up) any wild plant without permission from the landowner. You also can’t pick any part of a flower that is in a site of conservation such as an SSSI (Sites of Special Scientific Interest).
Planning
We are always planning ahead with our pressed pieces, to make sure we have enough pressed to last us for the next couple of months. When using blotting paper, most petals and leaves take around 3-4 weeks to press, so make sure you factor this in. Normal paper can be slower, so add an extra week. Results are best when your press is in a warm, dry room, with good ventilation. Moisture will make your pressed flowers go mouldy so it’s really important to ensure that it’s a dry day when you pick them. You'll see best results if you press when your blooms and foliage are fresh. See below for our short guide on the pressing process.
Design
Take inspiration from nature. Whilst it can help to have an idea of what you would like to use in advance, you should not be afraid to try pressing things that catch your eye when foraging! Sometimes the most unexpected things can lead to the most beautiful final piece.
How to press your flowers
- Lay out a piece of cardboard.
- Lay two pieces of newspaper onto the cardboard.
- Lay two pieces of blotting paper on top of this.
- Place flowers on to the blotting paper. Ensure you are not overcrowding the page and deconstruct the flowers if necessary.
- Lay another two pieces of blotting paper on top of the pressed flowers. Do this gently as it’s easy to bruise delicate items or cause folds, which you won’t be able to remove later
- Repeat the process until you have pressed all your flowers.
- Either close up your flower press making sure the wingnuts are tight or choose heavy books to put on top of your pressed flowers. Make sure these are distributed evenly.
