Wildflower pressing, with a twist
Wildflower pressing, with a twist
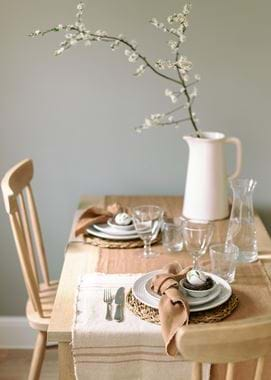
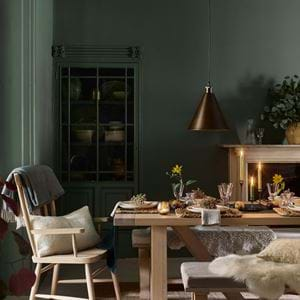
You may have seen our Easter tablescape, where we’ve taken a simpler approach to styling the table this spring. We know celebrations this year will be much more low-key than usual, as we’re all navigating the new normal and learning to find joy in the smaller things. Today, we’re sharing a timely craft to keep little (and large) hands busy over the longer weekend – wildflower pressing, with a twist.
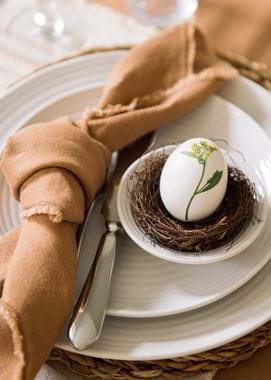
This old favourite is perfect for gathering around the kitchen table, says our stylist Meaghan - ‘When I was a little girl, one of my favorite things to do with my brothers and sister was to press hand-picked plants in between old books. Growing up in the country, there was always an abundance of wildflowers along riverside walks and woodland floors.’ And who better to share with us how to recreate these special eggs from our Easter photoshoot than old-hand Meaghan. Here’s how…
What you’ll need
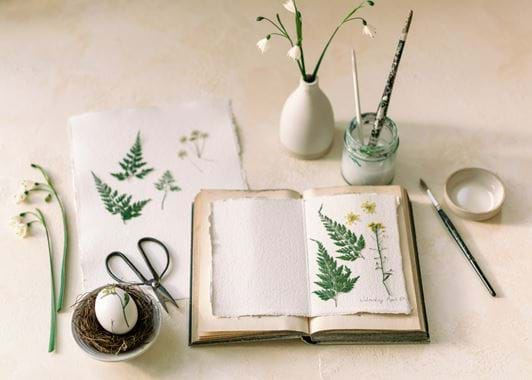
- Some small hand-picked fresh flowers. You’ll find wildflowers like snowdrops, miniature daffodils, wood anemone, primroses and grape hyacinths are all around at this time of year, typically along woodland paths. Just bring a pair of floristry scissors or secateurs, and a small lidded box with you on your next walk, dampened with a layer of cool newspaper at the bottom (to keep any freshly picked flowers from wilting too quickly)
- A heavy pile of books (the heavier the weight on-top, the quicker) and a sheet of paper to absorb any moisture
- A selection of eggs, one for each place setting. Regular brown eggs will do just fine and can be hard boiled in advance and kept in the fridge. This makes it a bit easier for the little ones too
- A small paintbrush and PVA craft glue or something similar
- Any paint you can find - we used a leftover sample pot of our Salt eggshell, but you can go as bold or bright as you like
What to do
1 Arrange the flowers on one half of a folded piece of paper, making sure they don’t overlap. Take care in placing the way the stems, leaves and petals lay. Once you’re happy with how they’re sitting, carefully place the paper inside of an old book (one that’s not too precious) and close the book. To speed up the process, try stacking heavier book on top. Leave your books somewhere safe and come back a few days later to check on them. You want them nicely flattened but not so dry that they’re overly delicate for painting onto your eggs.
2 Next, it’s time to paint your eggs. Naturally, white duck eggs provide a neutral backdrop, but if you can only get your hands on browns hen’s eggs, you can paint them. We found using up old sample paint pots left laying around in the garden shed, is particularly satisfying. Once your first coat paint is on, leave them to dry and reapply a second coat shortly after.
3 Once the second round of paint has dried, dip your paintbrush into the glue and finely coat the underside of the chosen pressed flower. Carefully lift this off the paper (using a pair of tweezers if you have them) and place onto the egg. Then delicately press the paintbrush over the flower to ensure it’s well stuck.
4 Repeat this for each egg and allow to dry before adding it to your Easter table place setting.
You could always...
Create a small nest of washed, foraged twigs or pussy willow to ensure each egg sits comfortably within each place setting.
If you’ve been inspired, discover our tabletop collection, filled with pieces that can translate from everyday to special occasion.
