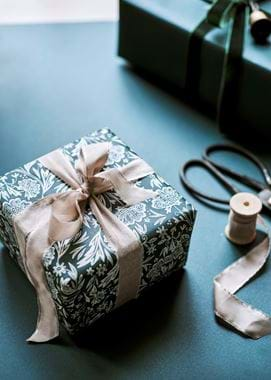
How to dye ribbons using natural materials
How to dye ribbons using natural materials
A simple craft that you can do in the run up to Christmas (or at any time of year, for that matter) to turn plain ribbons into something extra special. And all you’ll need are a handful of materials, most of which you can find around the house, in the garden or hedgerow, or on a quick trip to the shops.
What you’ll need
Natural ribbons or fabric cut into strips
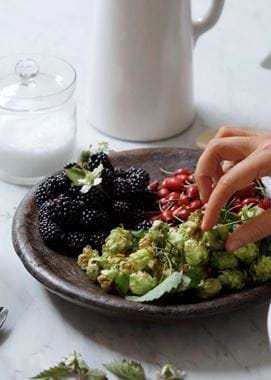
Plants or berries (enough to half fill a saucepan)
Salt (if using berries) or vinegar (for nuts, leaves, etc.)
The plants and berries you could use…
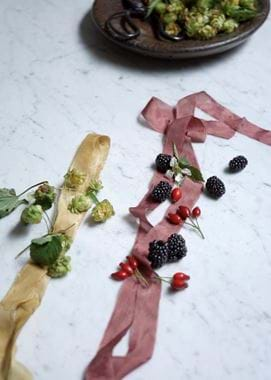
…and the colours they’ll create.
Blackberries – pink-purple
Hops – gold
Rosehips – dark pink-red
Elderberries – burgundy
Avocado stones – pale pink
Acorns – taupe
Eucalyptus – orange
What to do
- Place your ribbon or fabric strips into a bowl of water with the salt or vinegar (around four tablespoons per 750ml water) and leave for an hour.
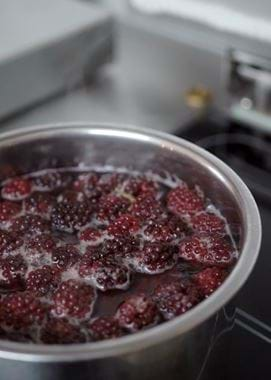
- In the meantime, add your plant material – be it berries, leaves, nuts or stones – to a stainless-steel saucepan then pour over twice as much water. Bring to a boil on the stove before turning down to simmer for an hour.
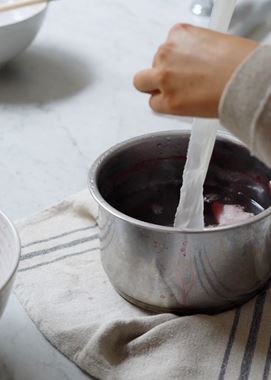
- Drain off the dye liquid and place back into the saucepan (you can now throw the plant material away). Take the soaked ribbons out of their water bath and add to the dye liquid in the saucepan. Simmer for a further hour, stirring every now and then to make sure the material dyes evenly.
- After the hour, take the pan off the heat. If you’re happy with the colour of the ribbon (bear in mind it’ll be slightly paler once rinsed) take it out of the dye and rinse in cold water. If you’d prefer a stronger shade, leave the ribbon in the pan for a few hours longer.
- Once rinsed, lay the ribbon out flat and leave to dry.
You’ll also find our ribbon dyeing video tutorial with our stylist Ailie over on our Instagram here.

