How to make your own lino-print Christmas cards
How to make your own lino-print Christmas cards
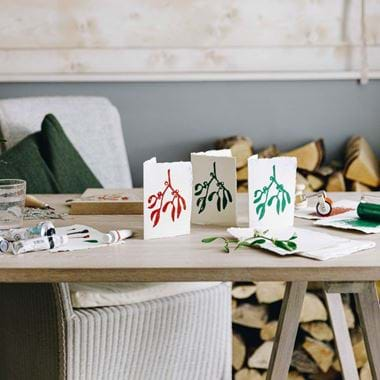
We believe that there should always be room for the homemade and the handcrafted at Christmas. These things bring a certain magic all of their own that bought decorations just can’t. And what more lovelier way to let someone know you’re thinking of them than a card you’ve put time and care into? Lino cutting is essentially a technique for creating your own stamps. It’s easy to pick up and you can create just about any design you want, from simple geometric patterns to intricate works of art (we opted for something in between – a sprig of mistletoe). You’ll just need a few supplies, which you can find easily online. This set from Cass Art is a really great place to start.
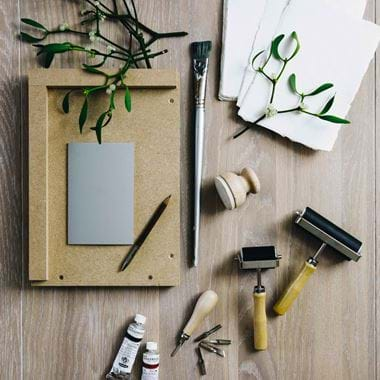
What you’ll need
- Roller
- Baren (the back of a spoon will do!)
- Lino
- Lino cutter
- Lino printing ink
- Ink tray
- Safety guard (definitely advised!)
- Natural, deckle-edged A5 paper, folded in half
- Pencil
What to do
- Get everything ready – protect your tabletop, gather your tools together and set aside a spot for your prints to dry.
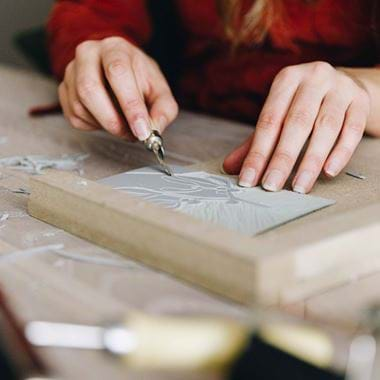
- Draw out your design onto your lino sheet in pencil, remembering that it’ll print backwards.
- Start etching away at the design bit by bit using your cutter (any pieces left raised will be what’s printed). Use the safety guard to keep the lino steady and your hand protected, and always cut away from yourself.
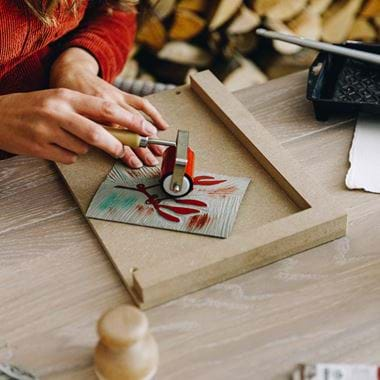
- Add a dollop of ink to the tray and use the roller to spread it out, making sure the roller is evenly covered.
- Apply the ink to your cut-out design evenly and not too thickly.
- Place the inked-up design down onto your paper and use your baren or the back of a spoon to make sure every part of the design has printed.
And that’s it!
